
Golden, melty cheese. Juicy chicken kissed with garlic. A warm tortilla wrapped tightly around it all. Dinner doesn’t need to be complicated to feel special — it just needs to be delicious.
These Cheesy Garlic Chicken Wraps have saved many weeknights in my kitchen. After a long day, when everyone hovers around the stove asking, “What’s for dinner?”, this recipe delivers. It’s quick. It’s comforting. And it smells so good that even the neighbors might suddenly feel like visiting.
What makes these wraps so reliable? Simple ingredients, bold flavor, and a method that doesn’t require fancy equipment or chef-level skills. You pan-sear, you melt, you wrap. That’s it. The garlic butter seeps into the chicken, the cheese turns beautifully gooey, and the tortilla crisps just enough to hold everything together.
Busy families need recipes that actually work. Not recipes that look pretty but take an hour of prep and a sink full of dishes. These Cheesy Garlic Chicken Wraps are practical, affordable, and endlessly adaptable. Add veggies, make them spicy, double the batch for meal prep — they play nicely with whatever you have in the fridge.
In this guide, I’ll show you exactly how to get juicy chicken (no dryness allowed), perfectly melted cheese, and wraps that stay crisp on the outside. Ready? Let’s cook something everyone will ask for again tomorrow.
For the cinnamon-sugar coating
- 1/3 cup granulated sugar
- 1 1/2 tablespoons cinnamon
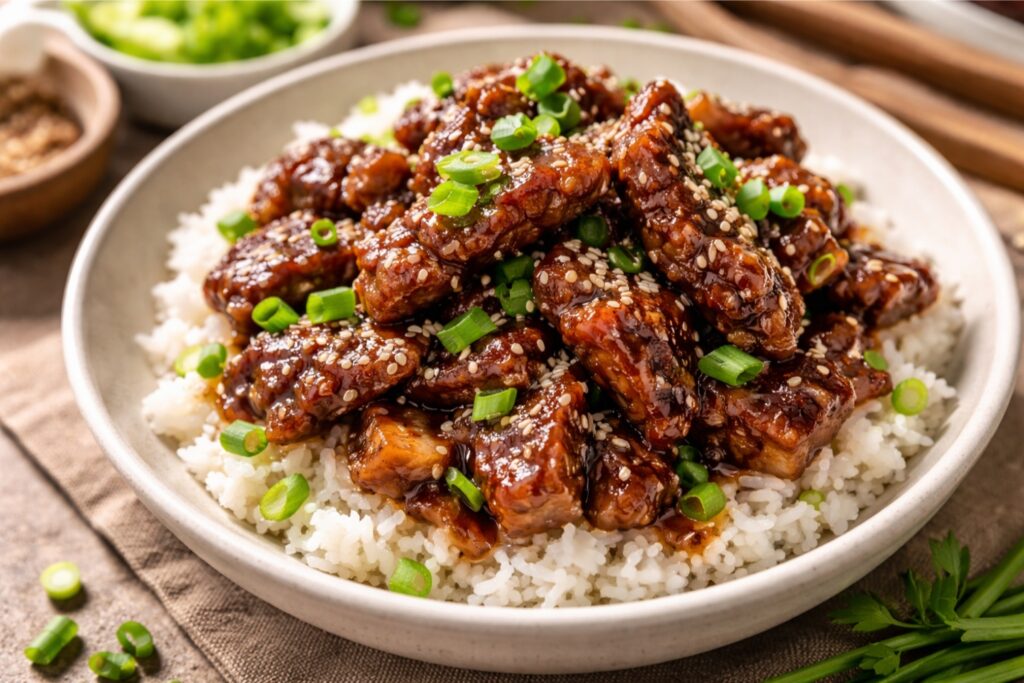
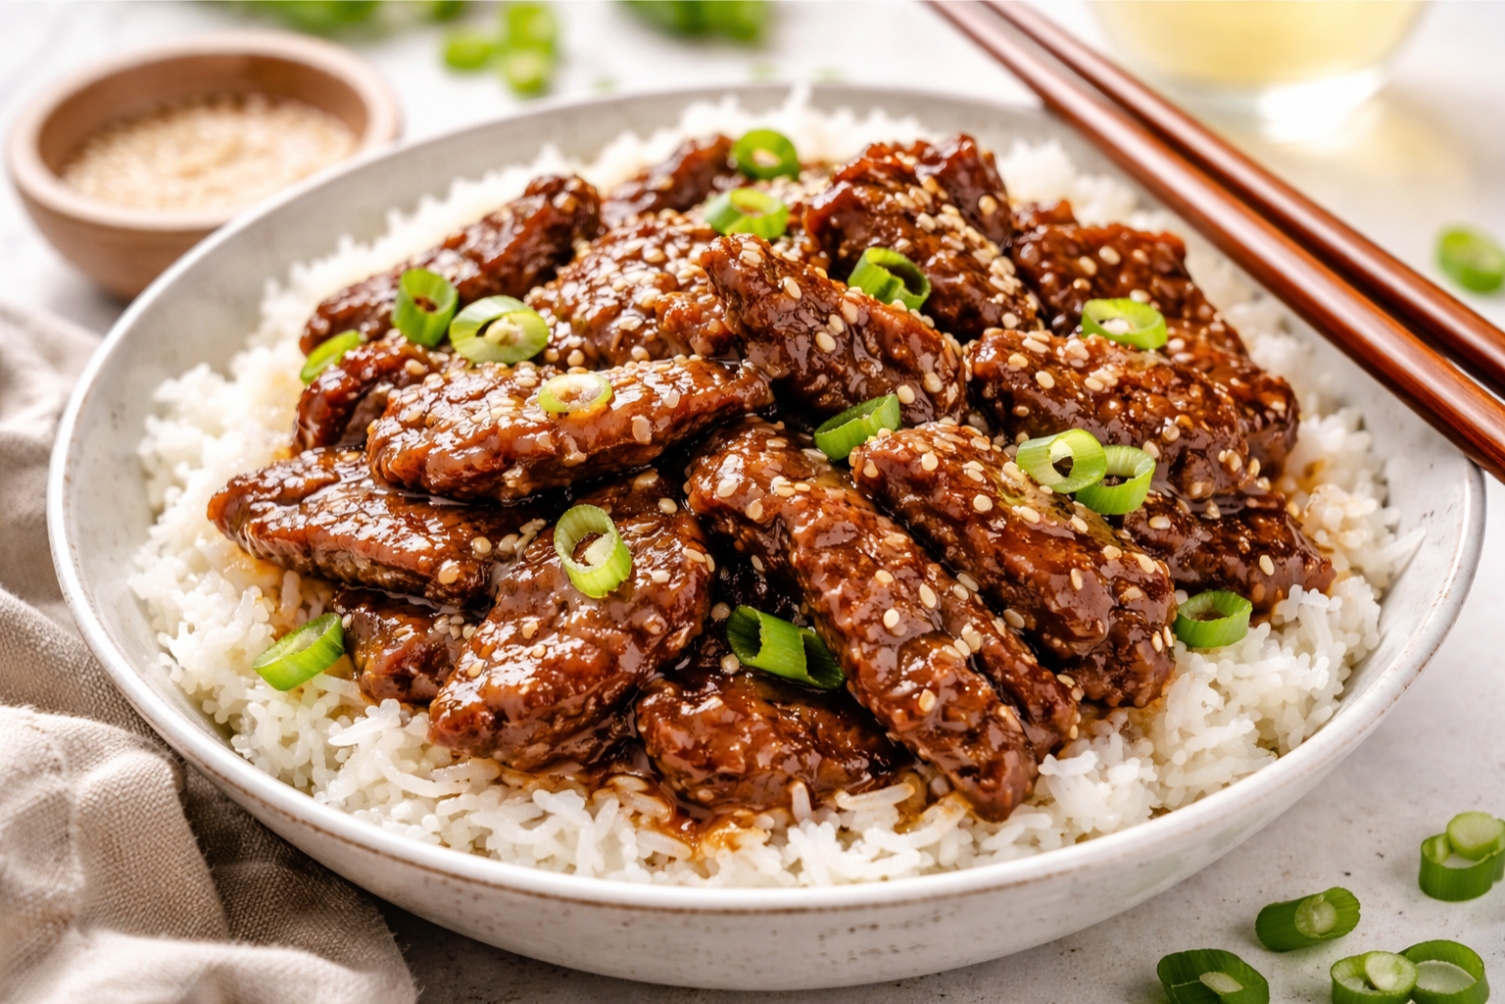
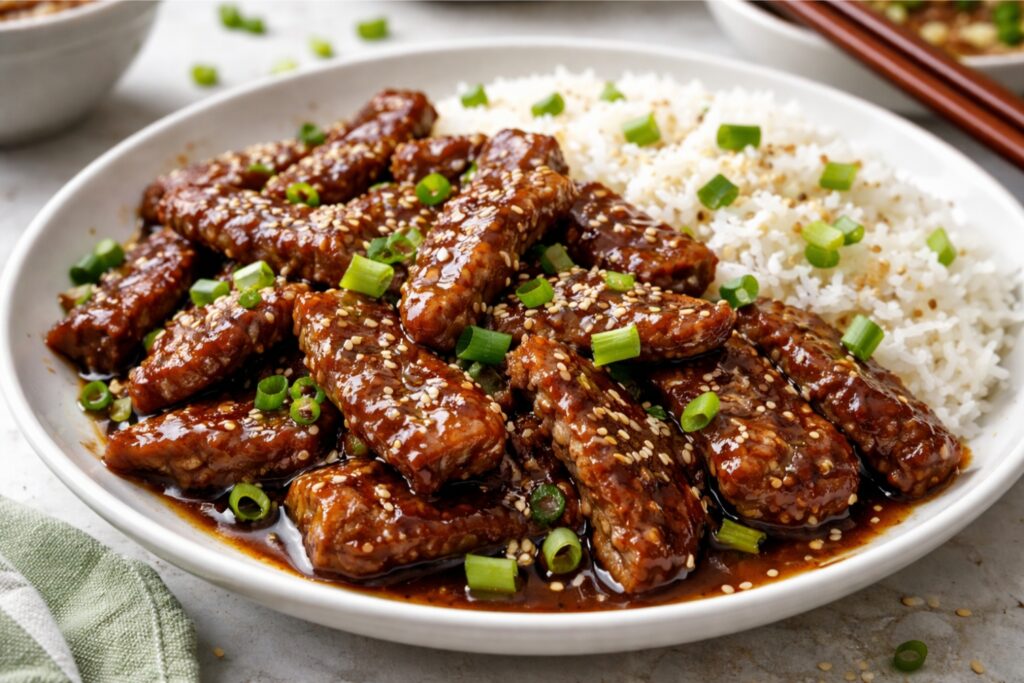
Easy Mongolian Beef
Ingredients
Method
- Heat the oven to 350°F. Line a few baking trays with parchment paper or silicone baking mats.
- Place the softened butter in a large mixing bowl or stand mixer. Beat until creamy and smooth, scraping down the bowl as needed.
- Add the granulated sugar and brown sugar. Mix until the texture turns light, fluffy, and fully blended.
- Crack in the eggs and pour in the vanilla. Beat again until the mixture looks smooth and even.
- Add the flour to the bowl, but do not stir yet.
- Sprinkle the baking soda, salt, and cream of tartar over the flour. Mix everything together gently until the dough forms. Stop once the flour disappears to avoid overmixing.
- Scoop the dough into balls about 1 1/2 to 2 inches wide.
- In a separate small bowl, combine the sugar and cinnamon for the coating. Roll each dough ball in the mixture until fully covered. Set aside any leftover cinnamon sugar.
- Arrange the dough balls on the prepared baking sheets, leaving about 2 inches between them.
- Bake for 9 to 11 minutes. The edges should look lightly set, while the centers may still appear a little glossy. That slight underbake helps keep the cookies soft and chewy.
- Right after removing the cookies from the oven, use a spoon to gently nudge the edges inward. This helps create a rounder shape and a thicker, softer center.
- Let the cookies rest on the pan for 3 to 5 minutes before moving them to a wire rack.
- While they are still warm but firm enough to handle, place each cookie back into the cinnamon-sugar mixture. Coat one side, flip it over, and coat the other side as well.
- Serve warm or let them cool completely before storing.