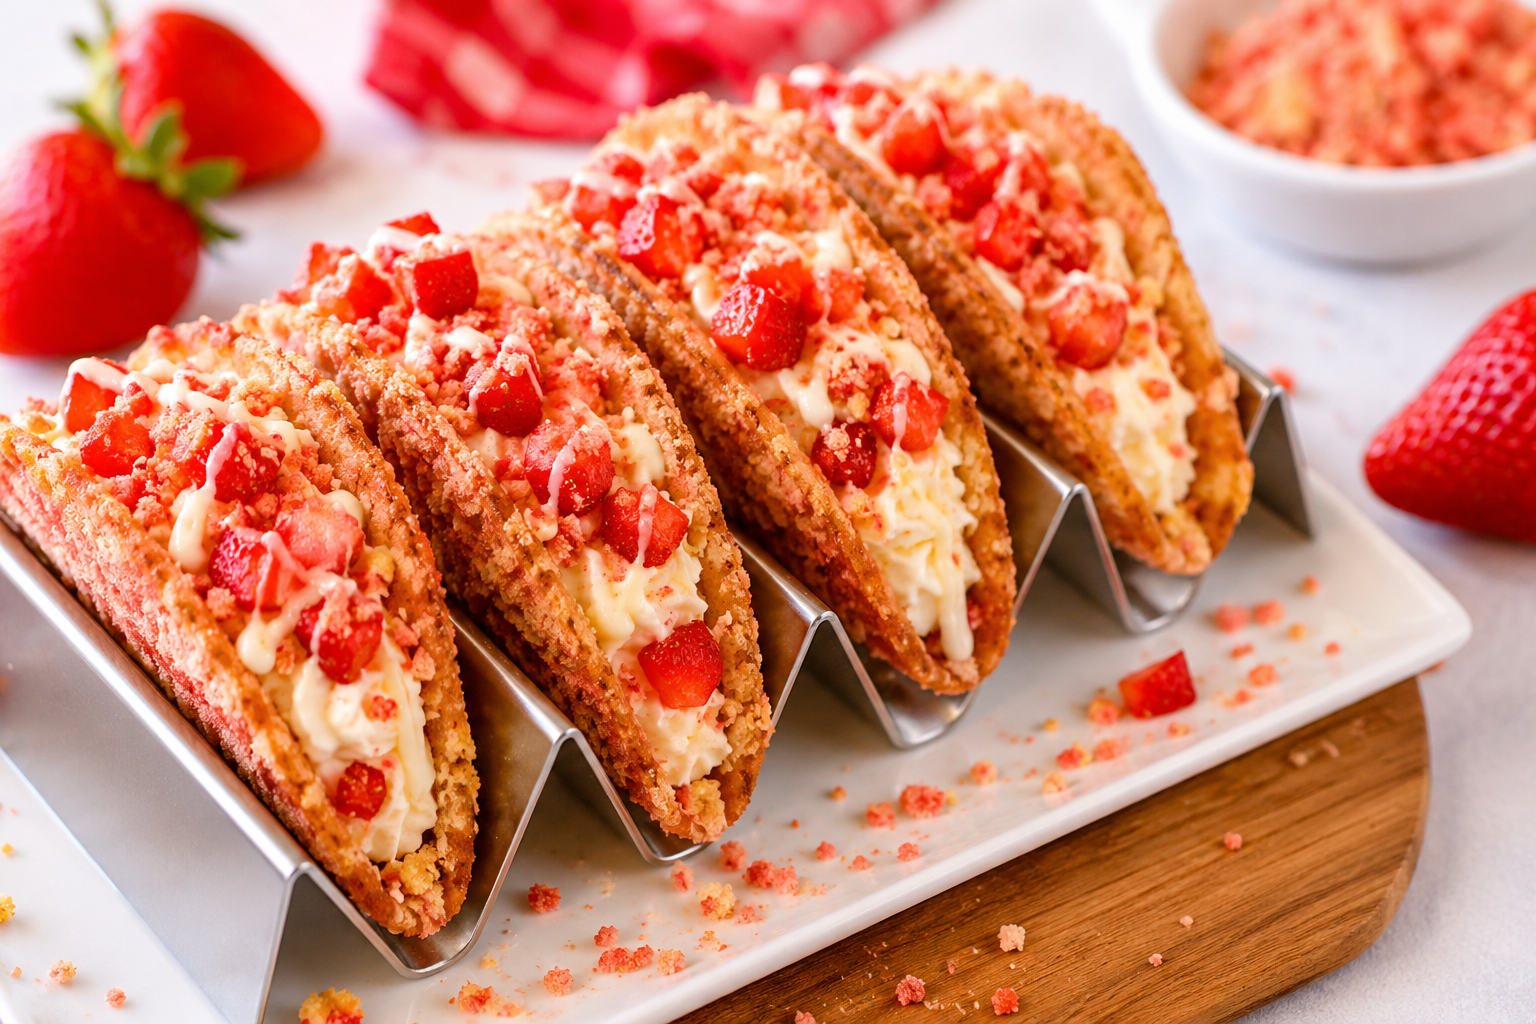
If you’re looking for a dessert that feels playful, impressive, and completely irresistible, these Strawberry Crunch Cheesecake Tacos deserve a spot on your must-make list. They combine everything people love about cheesecake and strawberry shortcake into one fun handheld treat.
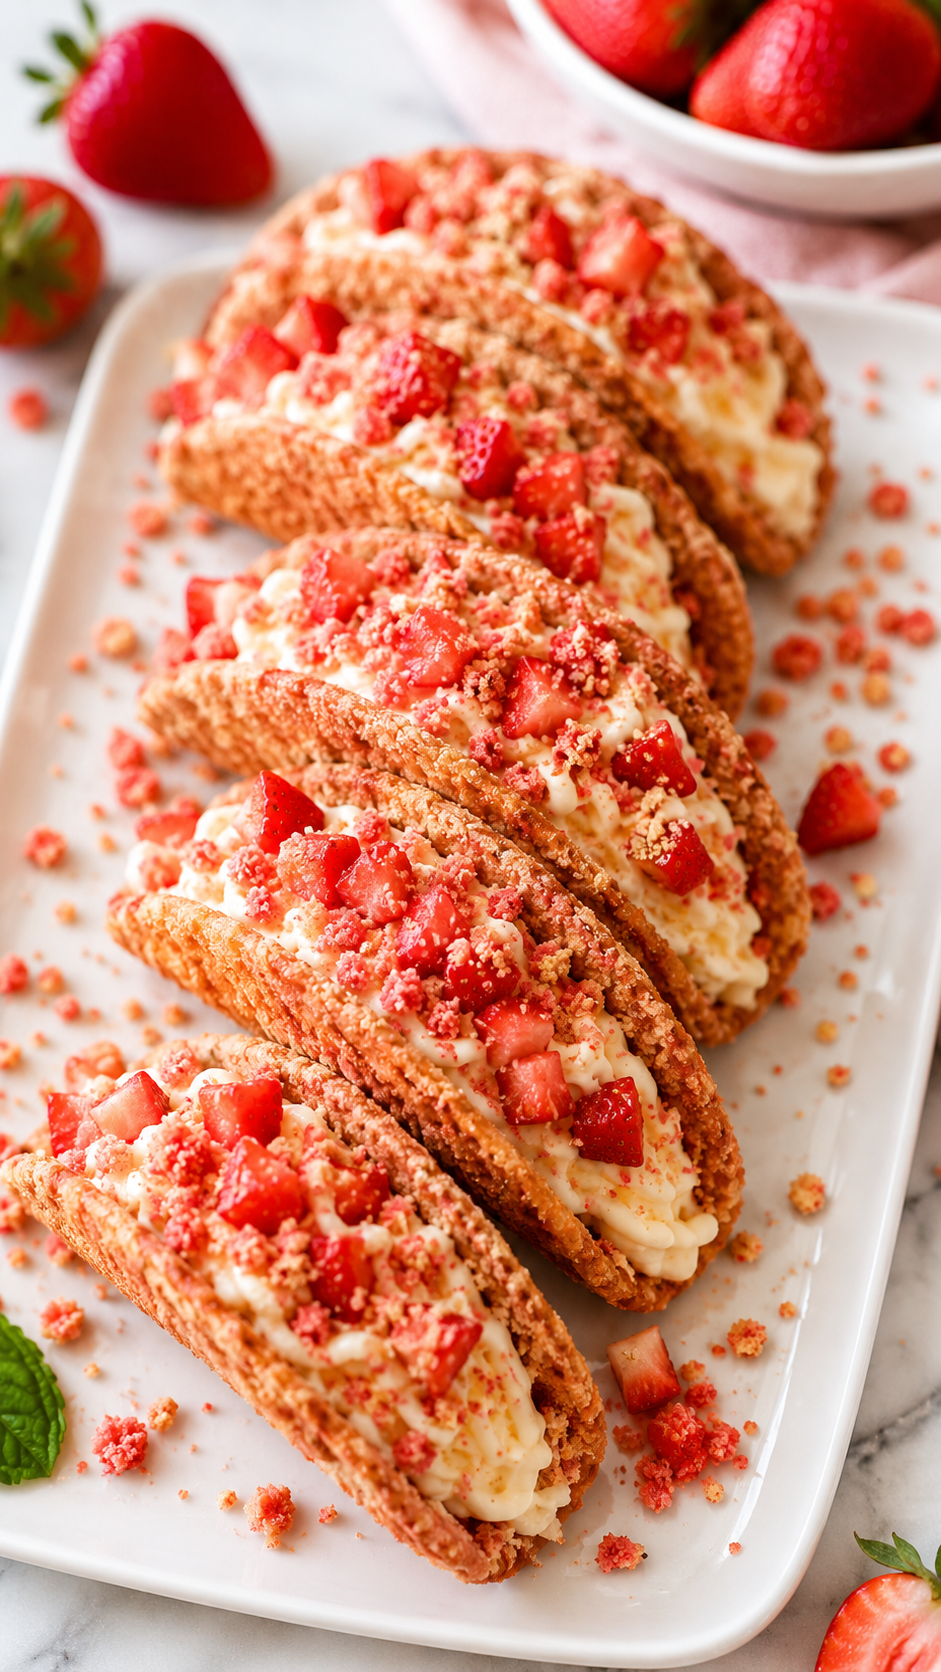
Each taco shell is lightly crisp, buttery, and filled with a silky cheesecake mixture that melts in your mouth. The finishing touch is a sweet strawberry crunch topping that adds color, texture, and a nostalgic flavor everyone recognizes.
This dessert is perfect for birthdays, baby showers, summer parties, Valentine’s celebrations, or anytime you want something a little different from the usual cake or cookies.
One of the best things about this recipe is that it looks bakery-worthy without requiring advanced baking skills. The cheesecake filling comes together quickly, making it a great option for beginner bakers and experienced dessert lovers alike.
The contrast between the creamy filling and crunchy strawberry coating creates a dessert that’s both satisfying and visually stunning. Every bite delivers sweetness, crunch, and rich cheesecake flavor.
These cheesecake tacos are also easy to customize. Add fresh berries, drizzle with chocolate, or switch up the crunch topping to create your own version.
Because they’re individually portioned, they’re ideal for entertaining. Guests can grab one and enjoy without needing plates, forks, or complicated serving arrangements.
Whether you’re creating a dessert table centerpiece or simply treating your family to something special, these strawberry cheesecake tacos are guaranteed to disappear quickly.
Quick Intro Summary
No-Bake Inspired Dessert · Party Favorite Treat · Creamy, Crunchy, and Easy to Make
Recipe Overview
- Prep Time: 25 minutes
- Cook Time: 10 minutes
- Chill Time: 1 hour
- Total Time: 1 hour 35 minutes
- Servings: 10 tacos
- Calories: Approximately 340 calories per taco
- Course: Dessert
- Cuisine: American
Why You’ll Love This Recipe
- Fun twist on classic strawberry cheesecake
- Beautiful dessert for parties and celebrations
- Easy-to-make cheesecake filling
- Crunchy strawberry topping adds incredible texture
- Can be prepared ahead for entertaining
- Perfect balance of creamy, sweet, and crisp
Ingredients
Taco Shells
- 10 small flour tortillas
- 3 tablespoons melted butter
- ¼ cup granulated sugar
- 1 teaspoon cinnamon
Cheesecake Filling
- 8 ounces cream cheese, softened
- 1 cup heavy whipping cream
- ½ cup powdered sugar
- 1 teaspoon vanilla extract
Strawberry Crunch Topping
- 20 golden sandwich cookies
- 3 tablespoons freeze-dried strawberries
- 3 tablespoons melted butter
Garnish
- Fresh strawberries, diced or sliced
- Whipped cream
- Extra strawberry crunch crumbs
How to Make It
Step 1: Shape the Taco Shells
Brush both sides of each tortilla with melted butter.
Mix the sugar and cinnamon together and sprinkle over the tortillas.
Drape the tortillas over oven-safe bars, an inverted muffin tin, or taco molds to create taco shapes.
Bake at 375°F (190°C) for 8 to 10 minutes until lightly golden and crisp.
Allow them to cool completely.
Step 2: Make the Strawberry Crunch
Place the golden sandwich cookies and freeze-dried strawberries into a food processor.
Pulse until fine crumbs form.
Mix with melted butter and set aside.
Step 3: Prepare the Cheesecake Filling
Beat the softened cream cheese until smooth.
Add powdered sugar and vanilla extract.
In a separate bowl, whip the heavy cream until stiff peaks form.
Fold the whipped cream into the cream cheese mixture until light and fluffy.
Step 4: Fill the Taco Shells
Transfer the cheesecake mixture to a piping bag.
Pipe the filling into each cooled taco shell.
Step 5: Add the Crunch Topping
Generously sprinkle or press the strawberry crunch mixture onto the cheesecake filling.
Step 6: Garnish and Chill
Top with fresh strawberries and a small swirl of whipped cream if desired.
Refrigerate for at least 1 hour before serving.
Recipe Notes and Tips
- Allow cream cheese to fully soften before mixing for the smoothest filling.
- Freeze-dried strawberries create the most vibrant flavor and texture.
- Let taco shells cool completely before filling.
- Pipe the filling just before serving if you want maximum shell crispness.
- Store extra crunch topping separately to keep it crunchy.
- Use full-fat cream cheese for the richest texture.
Easy Variations
1. Chocolate Strawberry Cheesecake Tacos
Drizzle melted chocolate over the finished tacos.
2. Mixed Berry Cheesecake Tacos
Replace some strawberries with raspberries and blueberries.
3. Strawberry Lemon Cheesecake Tacos
Add fresh lemon zest to the cheesecake filling.
4. Cookies and Cream Version
Swap the strawberry crunch topping for crushed chocolate sandwich cookies.
5. Mini Dessert Tacos
Use smaller tortillas for bite-sized party desserts.
What to Serve With It
- Fresh strawberry lemonade
- Iced coffee
- Vanilla milkshakes
- Fruit platters
- Chocolate-covered strawberries
- Hot coffee or espresso
- Sparkling berry drinks
Storage and Reheating
Refrigerator
Store assembled tacos in an airtight container for up to 2 days.
Make Ahead
Prepare the shells, filling, and crunch topping separately up to 2 days in advance.
Assemble shortly before serving.
Freezing
The cheesecake filling can be frozen for up to 1 month.
The assembled tacos are not ideal for freezing because the shells may soften.
Reheating
No reheating is needed. Serve chilled for the best texture.
FAQs
Can I make these cheesecake tacos ahead of time?
Yes. Prepare the components separately and assemble before serving for the best texture.
What makes the strawberry crunch topping so flavorful?
Freeze-dried strawberries provide concentrated strawberry flavor without adding moisture.
Can I use store-bought taco shells?
Dessert taco shells work well, although homemade shells typically have better flavor and texture.
How do I keep the shells crispy?
Fill them shortly before serving and avoid storing them fully assembled for extended periods.
Can I use whipped topping instead of whipped cream?
Yes. Whipped topping can be substituted for convenience.
Can I make these gluten-free?
Use gluten-free tortillas and gluten-free sandwich cookies.
Ingredients
Method
- Step 1: Shape the Taco Shells
- Brush both sides of each tortilla with melted butter.
- Mix the sugar and cinnamon together and sprinkle over the tortillas.
- Drape the tortillas over oven-safe bars, an inverted muffin tin, or taco molds to create taco shapes.
- Bake at 375°F (190°C) for 8 to 10 minutes until lightly golden and crisp.
- Allow them to cool completely.
- Step 2: Make the Strawberry Crunch
- Place the golden sandwich cookies and freeze-dried strawberries into a food processor.
- Pulse until fine crumbs form.
- Mix with melted butter and set aside.
- Step 3: Prepare the Cheesecake Filling
- Beat the softened cream cheese until smooth.
- Add powdered sugar and vanilla extract.
- In a separate bowl, whip the heavy cream until stiff peaks form.
- Fold the whipped cream into the cream cheese mixture until light and fluffy.
- Step 4: Fill the Taco Shells
- Transfer the cheesecake mixture to a piping bag.
- Pipe the filling into each cooled taco shell.
- Step 5: Add the Crunch Topping
- Generously sprinkle or press the strawberry crunch mixture onto the cheesecake filling.
- Step 6: Garnish and Chill
- Top with fresh strawberries and a small swirl of whipped cream if desired.
- Refrigerate for at least 1 hour before serving.