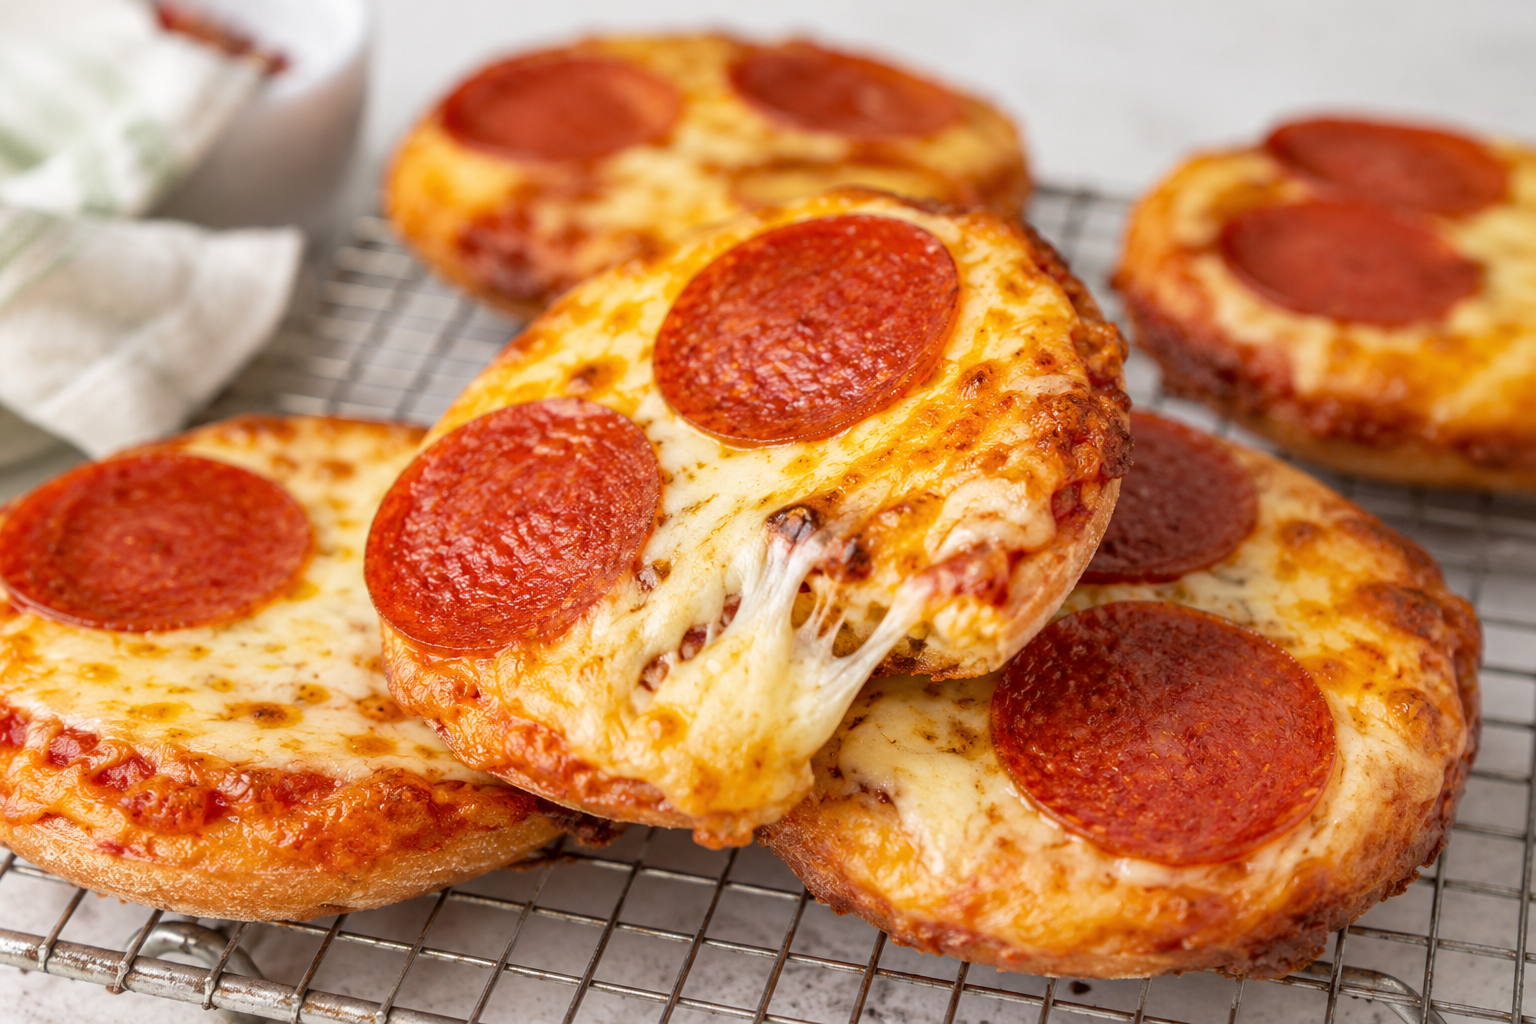
These easy mini lunchbox pizzas are the kind of recipe that makes school lunches feel fun again. They are soft, cheesy, kid-friendly, and small enough to tuck into lunchboxes without any fuss.
The best part is the simple two-ingredient pizza dough. You only need self-rising flour and Greek yogurt to make a soft, fluffy base that bakes up golden and tender.
This recipe is perfect for busy mornings, lunch prep, after-school snacks, quick meals, or weekend baking with kids. You can make a batch ahead of time, freeze them, and have homemade mini pizzas ready whenever you need them.
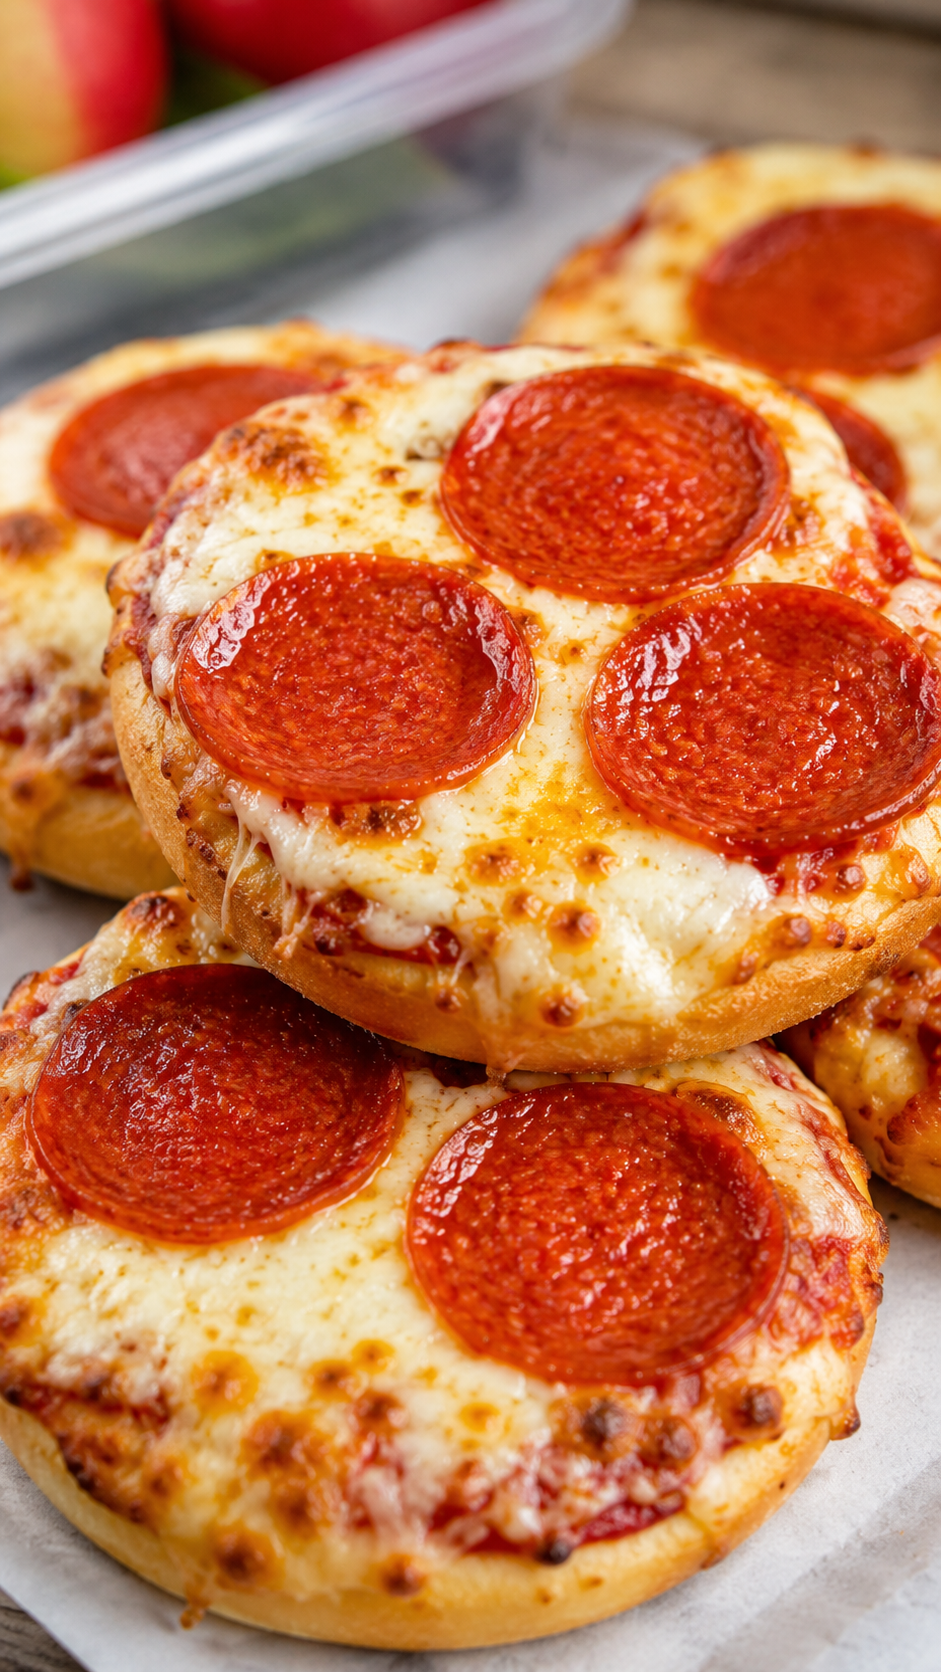
The flavor is classic and comforting: tomato paste, melty mozzarella, and crispy pepperoni on a warm homemade base. They taste like little pizza bites but feel more satisfying than a packaged snack.
They are also easy to customize. Keep them simple with cheese, add pepperoni, or sneak in extra vegetables like spinach, mushrooms, capsicum, zucchini, or tomatoes.
These homemade mini pizzas are delicious warm from the oven, but they also work well cold, which makes them especially helpful for lunchboxes.
If you need a freezer-friendly lunchbox recipe that kids and adults can both enjoy, this one is a practical keeper.
Quick Intro Summary
Mini homemade pizzas · Lunchbox recipe or quick snack · Freezer-friendly, cheesy, and kid-approved
Recipe Overview
- Prep Time: 10 minutes
- Cook Time: 15 minutes
- Total Time: 25 minutes
- Servings: 10 mini pizzas
- Calories: Approximately 209 per mini pizza
- Course: Lunch, Snack
- Cuisine: Italian-Inspired, Kid-Friendly
Why You’ll Love This Recipe
- The pizza dough uses only two simple ingredients.
- It’s perfect for school lunches, snacks, and quick meals.
- These mini pizzas can be served warm or cold.
- They freeze well, so you can prep a batch ahead.
- Kids can help add their own toppings.
- The recipe is easy to customize with vegetables, cheese, meat, or leftover chicken.
Ingredients
For the Two-Ingredient Dough
- 2 cups self-rising flour, plus extra for dusting
- 1 cup full-fat plain Greek yogurt
For the Toppings
- 1/3 cup tomato paste
- 1 cup shredded mozzarella cheese, freshly shredded if possible
- 1/2 cup pepperoni slices
Optional Toppings
- Sliced ham
- Pineapple pieces
- Mushrooms
- Diced bell peppers
- Baby spinach
- Semi-dried tomatoes
- Cooked shredded chicken
- Grated zucchini
- Cheddar cheese
- Olives
How to Make It
1. Preheat the oven
Preheat the oven to 400°F, or 350°F fan-forced.
Line a large baking tray with parchment paper. Use two trays if needed so the mini pizzas have space.
2. Make the dough
Add the self-rising flour and Greek yogurt to a large mixing bowl.
Stir with a spoon until the mixture looks shaggy, then use your hands to bring it together into a soft dough.
3. Knead briefly
Knead the dough in the bowl or on a lightly floured surface for 1 to 2 minutes.
At first, it may look dry, but keep working it gently until it comes together. Add a light dusting of flour if it feels sticky.
4. Roll the dough
Lightly flour your work surface.
Roll the dough to about 1/2-inch thick.
5. Cut the mini pizza bases
Use a large round cookie cutter, mug, or glass to cut out small pizza rounds.
Gather the leftover dough scraps, roll again, and continue cutting until all the dough is used.
6. Add sauce
Place the dough rounds on the prepared baking tray.
Spread a thin layer of tomato paste over each mini base.
7. Add toppings
Sprinkle each mini pizza with mozzarella.
Top with pepperoni or your favorite toppings.
8. Bake
Bake for 12 to 14 minutes, or until the bases are golden and the cheese is melted.
Let the pizzas cool slightly before serving or packing.
Recipe Notes and Tips
- Greek yogurt works best because it is thick and helps create a soft, sturdy dough.
- If the dough feels too sticky, dust your hands and work surface with a little extra flour.
- Do not overload the toppings. Too much sauce or cheese can make the mini pizzas soft in the center.
- Freshly shredded mozzarella melts nicely, but packaged shredded mozzarella also works.
- Let the pizzas cool completely before packing them in lunchboxes or freezing them.
- For extra vegetables, finely chop them so they cook quickly and stay easy to eat.
- You can shape the dough into rounds, squares, ovals, or fun shapes for younger kids.
- If you only have all-purpose flour, add baking powder and a pinch of salt to help the dough rise.
Easy Variations
- Cheese Mini Pizzas: Use tomato paste and mozzarella only for a simple kid-friendly version.
- Veggie Lunchbox Pizzas: Add mushrooms, bell peppers, spinach, zucchini, or tomatoes.
- Hawaiian Mini Pizzas: Top with ham, pineapple, and mozzarella.
- Chicken Pizza Bites: Add cooked shredded chicken with a little barbecue sauce or tomato paste.
- Air Fryer Mini Pizzas: Cook at 350°F for 8 to 10 minutes, or until golden and melted.
What to Serve With It
Pack these mini lunchbox pizzas with cucumber slices, carrot sticks, grapes, apple wedges, berries, or a small side salad.
For a warm snack or quick dinner, serve them with tomato soup, veggie sticks, ranch dip, marinara sauce, or fruit salad.
They also work well on a kids’ party platter with mini sandwiches, cheese cubes, crackers, and fresh fruit.
Storage and Reheating
Store cooked mini pizzas in an airtight container in the refrigerator for up to 3 days.
For freezing, let the pizzas cool completely first. Place parchment paper between layers so they do not stick together, then freeze in an airtight container or freezer bag for up to 3 months.
Thaw overnight in the refrigerator before serving, or place one frozen pizza directly into a lunchbox so it can thaw by lunchtime.
To reheat, warm in the oven until heated through and crisp around the edges. You can also microwave them briefly, though the base will be softer.
If making the dough ahead, keep it covered in the refrigerator for a few hours so it does not dry out.
FAQs
Can I make these mini pizzas ahead of time?
Yes. Bake them, cool them completely, then store them in the fridge or freezer. They are great for lunchbox meal prep.
Can these mini lunchbox pizzas be eaten cold?
Yes. They taste good warm or cold, which makes them ideal for school lunches and packed meals.
Can I use regular yogurt instead of Greek yogurt?
Greek yogurt is best because it is thicker. Regular yogurt may make the dough too wet and sticky.
Can I make these without pepperoni?
Absolutely. Make them plain cheese, veggie-only, Hawaiian-style, or use cooked chicken, ham, or another topping your family likes.
Can I use an air fryer?
Yes. Cook the mini pizzas in an air fryer at 350°F for about 8 to 10 minutes, or until the dough is golden and the cheese melts.
Can I make one large pizza instead?
Yes. Instead of cutting mini rounds, roll the dough into one large base. The baking time may need to be slightly longer.
Easy Mini Lunchbox Pizzas for Kids and Busy Mornings
Ingredients
Method
- Preheat the oven
- Preheat the oven to 400°F, or 350°F fan-forced.
- Line a large baking tray with parchment paper. Use two trays if needed so the mini pizzas have space.
- Make the dough
- Add the self-rising flour and Greek yogurt to a large mixing bowl.
- Stir with a spoon until the mixture looks shaggy, then use your hands to bring it together into a soft dough.
- Knead briefly
- Knead the dough in the bowl or on a lightly floured surface for 1 to 2 minutes.
- At first, it may look dry, but keep working it gently until it comes together. Add a light dusting of flour if it feels sticky.
- Roll the dough
- Lightly flour your work surface.
- Roll the dough to about 1/2-inch thick.
- Cut the mini pizza bases
- Use a large round cookie cutter, mug, or glass to cut out small pizza rounds.
- Gather the leftover dough scraps, roll again, and continue cutting until all the dough is used.
- Add sauce
- Place the dough rounds on the prepared baking tray.
- Spread a thin layer of tomato paste over each mini base.
- Add toppings
- Sprinkle each mini pizza with mozzarella.
- Top with pepperoni or your favorite toppings.
- Bake
- Bake for 12 to 14 minutes, or until the bases are golden and the cheese is melted.
- Let the pizzas cool slightly before serving or packing.