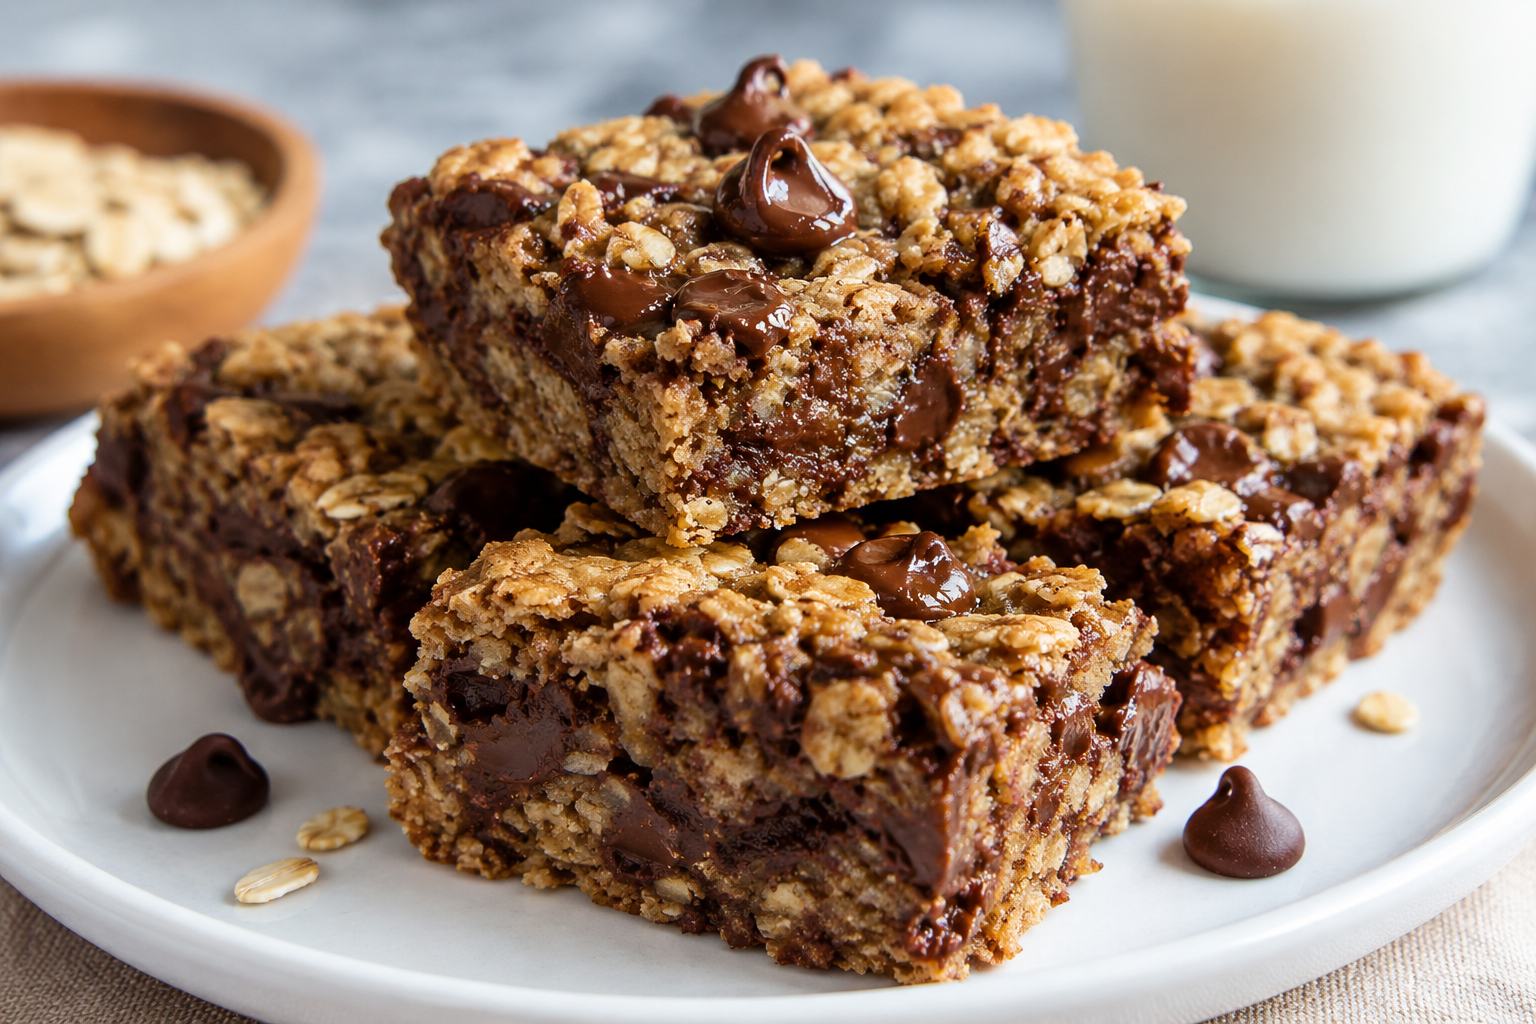
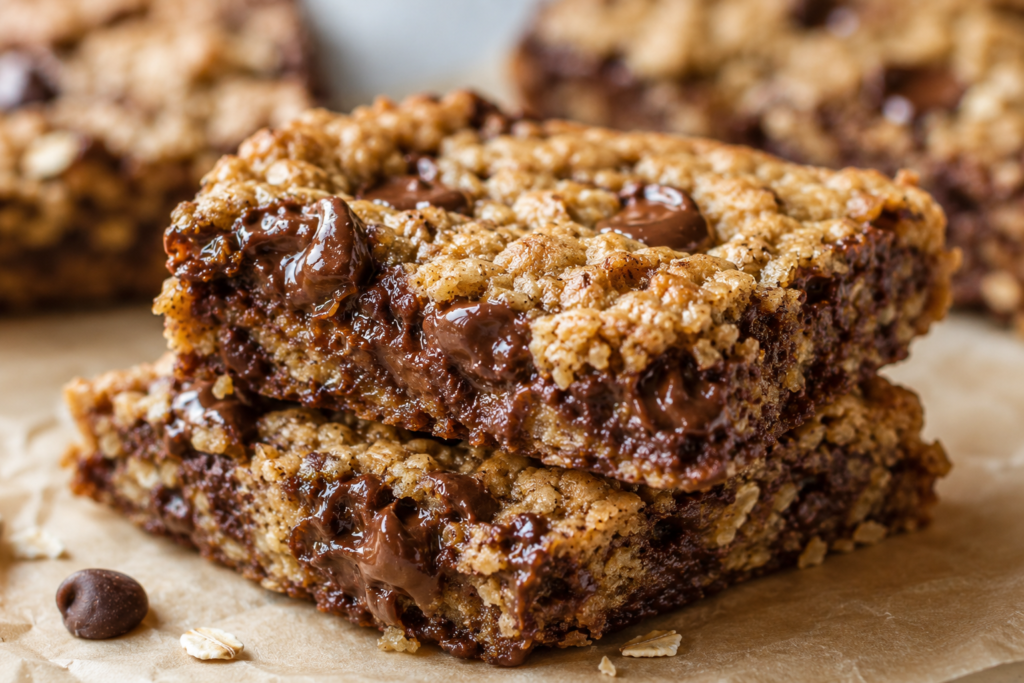
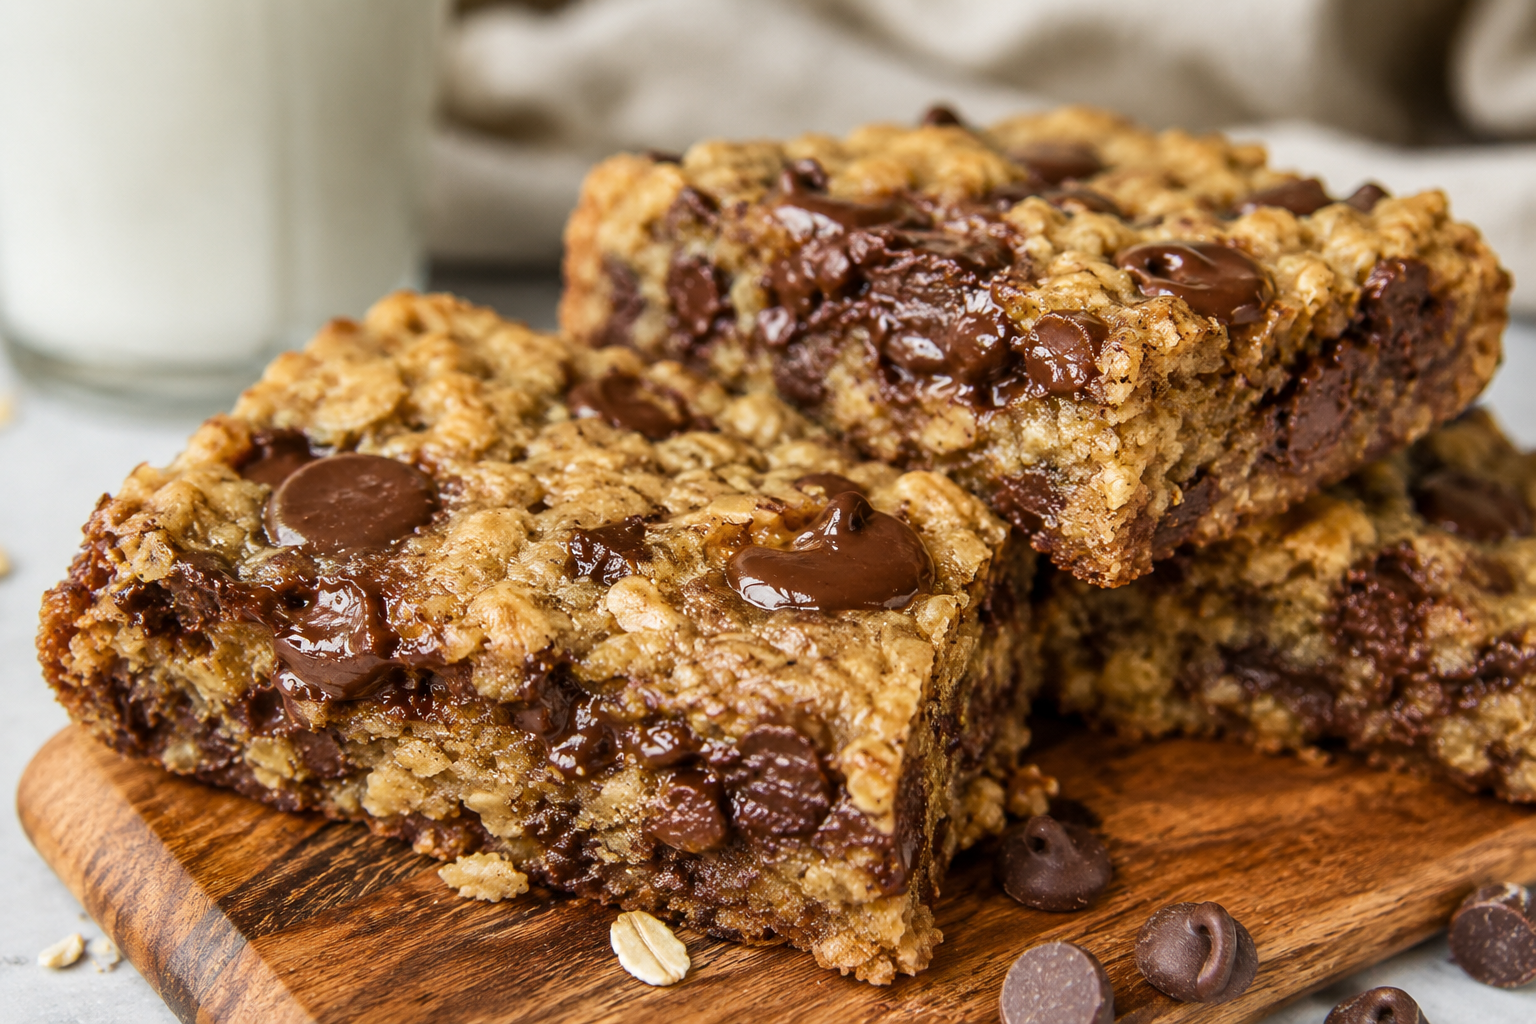
There is something extra comforting about a pan of cookie bars cooling on the counter. These oatmeal chocolate chip bars bring all the cozy flavor of a classic oatmeal cookie, but with a much easier, slice-and-serve method that makes them perfect for busy baking days.
They are especially great when you want a homemade dessert without scooping tray after tray of cookies. Everything gets mixed in bowls, pressed into one pan, and baked until the edges turn golden and the center stays soft and chewy.

The flavor is exactly what you want from a dependable cookie bar recipe. You get warm cinnamon, brown sugar, vanilla, buttery richness, hearty oats, and plenty of milk chocolate chips in every bite.
Texture is a big part of why these bars work so well. They bake up thick, soft, and chewy, with enough structure to slice neatly but enough tenderness to still feel like a bakery-style treat.
This is also the kind of recipe that fits almost any occasion. It works for lunchbox treats, casual dessert trays, weekend baking, bake sales, or just the kind of afternoon when you want something sweet with coffee or milk. The versatile use cases are my own practical inference, but the easy one-pan dessert format clearly supports them.
Another reason to save this one is how straightforward the ingredient list is. There is no frosting, no chilling time, and no complicated technique, just a simple cookie-bar batter with oats and chocolate chips baked in a 9 x 13 pan.
If you love oatmeal cookies but want something faster and a little more generous-looking on the dessert table, these bars hit that sweet spot beautifully. They feel homey, reliable, and easy to make again and again.
Recipe Overview
- Prep Time: 15 minutes.
- Cook Time: 25 minutes.
- Total Time: 40 minutes.
- Servings: 24 bars.
- Calories: 221 per bar.
- Course: Dessert.
- Cuisine: American.
Why You’ll Love This Recipe
- You get the flavor of oatmeal chocolate chip cookies without scooping individual cookies.
- The bars are thick, chewy, and buttery with plenty of chocolate in every bite.
- The batter comes together in simple stages and bakes in one pan.
- Quick oats are the main choice, but old-fashioned oats can work too.
- They store well in an airtight container, which makes them great for making ahead.
Ingredients
- 1 1/2 cups all-purpose flour
- 1 teaspoon baking soda
- 1/2 teaspoon salt
- 1 teaspoon cinnamon
- 14 tablespoons unsalted butter
- 3/4 cup packed brown sugar
- 1/2 cup granulated sugar
- 2 eggs
- 1 teaspoon vanilla extract
- 3 cups quick-cook oats, with old-fashioned oats listed as an option
- 1 cup milk chocolate chips
How to Make It
- Preheat the oven to 350°F and lightly grease a 9 x 13-inch baking dish.
- In a medium bowl, whisk together the flour, baking soda, salt, and cinnamon.
- In a large bowl, beat the butter with both sugars until the mixture looks light and fluffy.
- Add the eggs one at a time, then mix in the vanilla.
- Mix in the dry ingredients on low speed just until combined.
- Stir in the oats and chocolate chips, then press the dough evenly into the prepared pan.
- Bake for about 25 minutes, until the edges are golden brown. Let the bars cool before slicing and serving.
Recipe Notes and Tips
Room-temperature butter matters here. The butter should be soft enough to dent with a finger, but not melted, because that helps the sugar cream in properly and gives the bars their soft texture.
Measure the flour carefully by spooning it into the cup and leveling it off. That helps prevent adding too much flour, which can make the bars heavier and drier.
Room-temperature eggs also help the batter mix more evenly. The source suggests placing cold eggs in lukewarm water for a few minutes if you need to warm them quickly.
Fresh baking soda is worth checking before you start. The recipe notes recommend testing it with a little vinegar to make sure it bubbles right away.
Easy Variations
- Swap the milk chocolate chips for semisweet chocolate chips for a slightly deeper chocolate flavor. This is my own variation suggestion based on the recipe structure.
- Use old-fashioned oats instead of quick oats, since the recipe notes that they work here too.
- Add chopped walnuts or pecans for extra crunch. This is my own variation suggestion, not a source-provided note.
- Sprinkle a few extra chocolate chips over the top before baking for a more bakery-style finish. This is my own variation suggestion, not a source-provided note.
- Finish cooled bars with a light pinch of flaky salt for a sweet-salty contrast. This is my own serving-style variation.
What to Serve With It
These bars are easy to serve on their own, but they also pair really well with coffee, tea, or a cold glass of milk. For a more dessert-style presentation, I would serve them slightly warm with a scoop of vanilla ice cream. Those pairings are my own serving suggestions rather than directions from the source.
Storage and Reheating
Store the bars in an airtight container for up to two weeks.
The source does not include a specific reheating method. For the best just-baked feel, I would warm an individual bar for a few seconds before serving, but that is my own kitchen suggestion rather than a source instruction.
FAQs
Can I use old-fashioned oats instead of quick oats?
Yes. The recipe specifically notes that old-fashioned oats will work in these bars.
How do I know when the bars are done?
They are ready when the edges are golden brown. The source uses that visual cue instead of a toothpick test.
Why does the recipe call for room-temperature butter?
Soft butter creams more easily with the sugars, which helps create the right texture for the bars. The source also gives a visual cue for proper butter softness.
Can I make these ahead of time?
Yes. Since they keep well in an airtight container, they are a good make-ahead dessert bar.
What makes these different from oatmeal cookies?
They use a very similar flavor profile, but the dough is pressed into one pan and baked as bars instead of scooped into individual cookies.
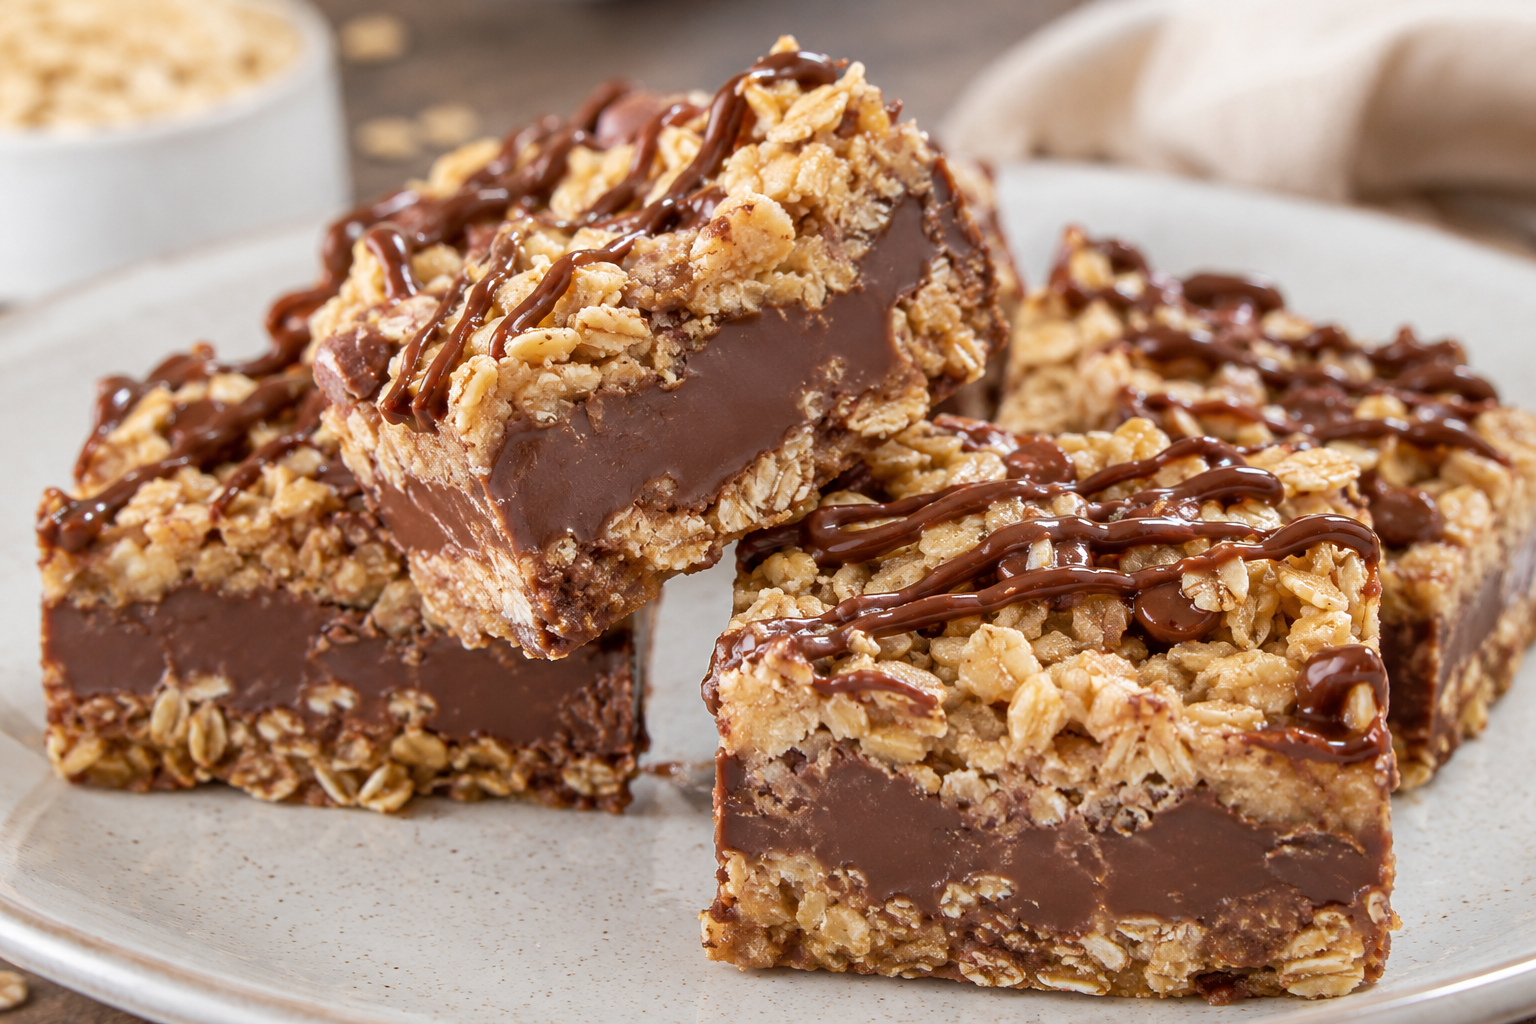
Easy No Bake Chocolate Oatmeal Bars Recipe Everyone Will Want Again
Ingredients
Method
- Preheat the oven to 350°F and lightly grease a 9 x 13-inch baking dish.
- In a medium bowl, whisk together the flour, baking soda, salt, and cinnamon.
- In a large bowl, beat the butter with both sugars until the mixture looks light and fluffy.
- Add the eggs one at a time, then mix in the vanilla.
- Mix in the dry ingredients on low speed just until combined.
- Stir in the oats and chocolate chips, then press the dough evenly into the prepared pan.
- Bake for about 25 minutes, until the edges are golden brown. Let the bars cool before slicing and serving