
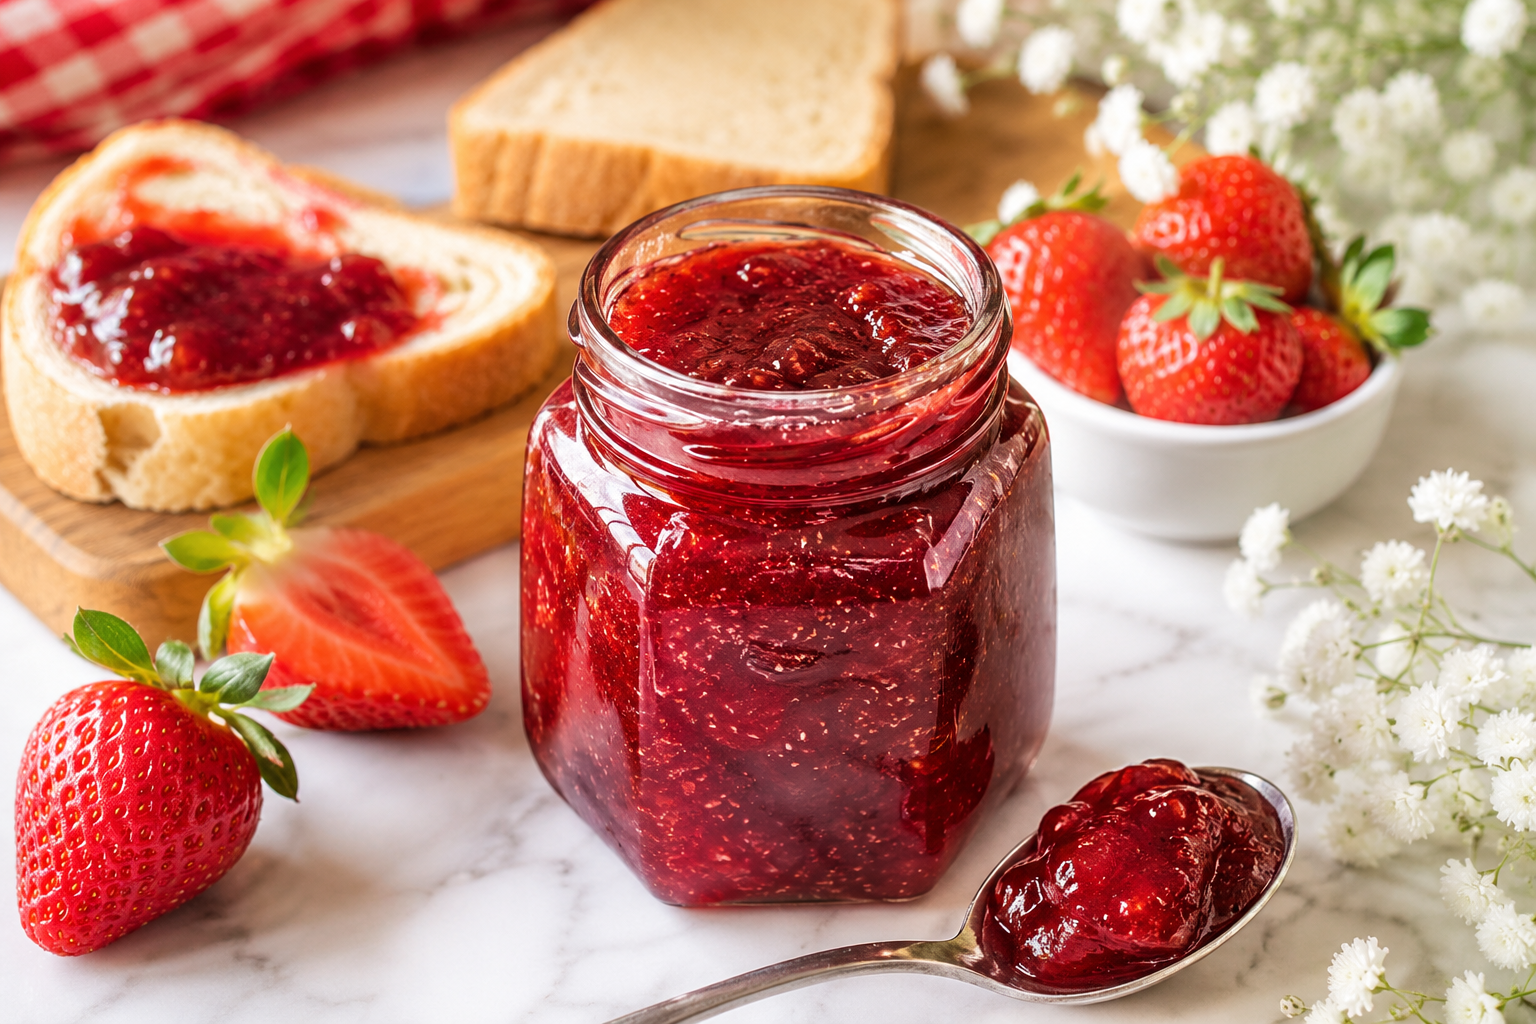
There’s something so comforting about homemade strawberry jam—thick, glossy, and bursting with that sweet-tart berry flavor that instantly makes toast taste like a treat. If you’ve ever bought a jar and thought, I could do better at home, this recipe is your sign.
This strawberry jam recipe is designed for real life: simple steps, pantry-friendly ingredients, and a method that doesn’t require fancy equipment. You’ll end up with a spoonable jam that sets beautifully for spreading, filling, and swirling into desserts.
One of the best parts? It’s easy to scale. Use fresh strawberries when they’re in season, or choose frozen when you want jam year-round. Either way, your kitchen will smell like summer.
Whether you’re making a batch for breakfast sandwiches, gifting a couple of jars, or stocking your fridge for quick snacks, this jam is endlessly useful. It’s especially great for school mornings, cozy weekends, and anytime you want a homemade touch.
Let’s make strawberry jam that tastes bright, feels thick, and turns everyday breakfasts into something special.
Quick Intro Summary
Cozy, spoonable · Breakfast jam for toast and desserts · Made with simple ingredients for sweet berry bliss
Recipe Overview
- Prep Time: 15 minutes
- Cook Time: 25 minutes
- Total Time: 40 minutes
- Servings: about 2 cups (roughly 16 tablespoons)
- Calories: ~50 per 1 tablespoon (approx.)
- Course: Breakfast / Condiment
- Cuisine: American
Why You’ll Love This Recipe
- Big flavor with minimal effort—real strawberry taste in every bite.
- Naturally thick and spreadable with the right cooking time.
- Perfect for beginners—clear steps and easy troubleshooting.
- Great for gifting or meal prep—make once, enjoy all week.
- Use fresh or frozen strawberries depending on what you have.
Ingredients
For the Strawberry Jam
- 1 ½ pounds (about 680 g) strawberries, hulled and chopped
- Fresh or frozen both work—if using frozen, thaw slightly so they’re not rock solid.
- 1/3 cup (70 g) granulated sugar
- Adjust slightly to taste if your berries are very sweet or very tart.
- 2 tablespoons lemon juice (fresh preferred)
- Adds brightness and helps the jam set.
- 2 teaspoons lemon zest (optional, but highly recommended)
- 1 tablespoon water (only if needed for cooking down)
Optional (but recommended for extra thickness)
- 2 tablespoons chia seeds (for a thicker, spoonable jam)
- If you prefer a more classic texture, skip chia and cook a bit longer instead.
How to Make It
- Prep your strawberries. Hull and chop the strawberries into small pieces so they break down evenly.
- Combine in a saucepan. Add strawberries, sugar, lemon juice, and lemon zest to a medium saucepan. Stir to coat the fruit.
- Cook until thick. Bring to a gentle boil over medium heat, then reduce to a steady simmer. Cook, stirring often, until the mixture becomes glossy and noticeably thicker, about 20–30 minutes depending on your strawberries.
- Check the set. To test, place a small spoonful on a cold plate. After 1–2 minutes, run your finger through it—if it wrinkles and holds shape, it’s ready.
- (Optional) Thicken with chia. If using chia seeds, stir them in during the last 3–5 minutes of cooking. Cook briefly to distribute and thicken.
- Cool and store. Let the jam cool to room temperature. It will continue to thicken as it cools.
- Jar it up. Spoon into clean jars. Refrigerate and use within a week or freeze for longer storage.
Recipe Notes and Tips
- Don’t rush the simmer. Strawberry jam thickens as water evaporates and fruit breaks down. If it looks too thin right after cooking, give it time to cool.
- Use lemon juice confidently. It boosts the berry flavor and improves the jam’s texture. Avoid bottled if you have fresh on hand.
- Stir often to prevent scorching. Jam can catch on the bottom as sugar concentrates.
- If your strawberries are very watery: cook an extra 5–10 minutes and re-test with the cold plate method.
- For a chunkier jam: keep strawberries chopped a bit larger and stir less during cooking.
- Make-ahead friendly: This jam tastes even better after a day in the fridge when flavors settle.
Easy Variations
- Vanilla Strawberry Jam: Add 1 teaspoon vanilla extract in the last 2 minutes of cooking.
- Strawberry-Rhubarb Jam: Replace about 1/3 of the strawberries with chopped rhubarb for a tangier twist.
- Strawberry Jam with Cardamom: Add a pinch (about 1/8 teaspoon) of ground cardamom for a warm, bakery-style flavor.
- Low-Sugar Strawberry Jam: Use 1/4 cup sugar and cook a little longer for best setting.
- Mixed Berry Jam: Swap in some blueberries or raspberries for deeper color and more berry complexity.
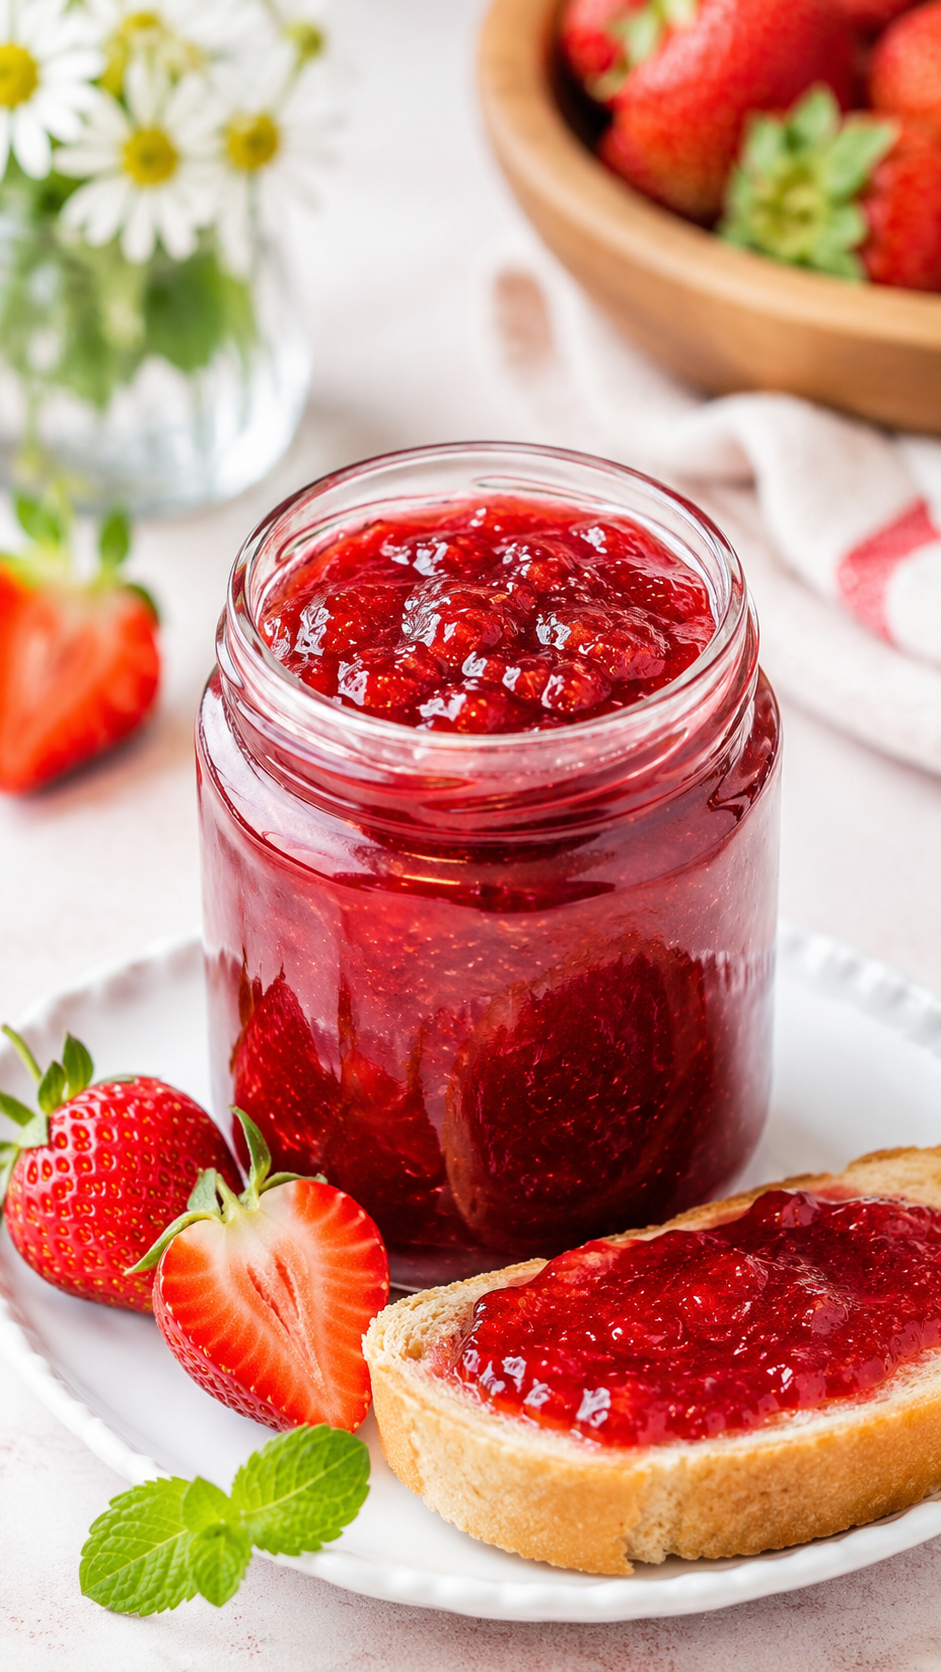
What to Serve With It
- Toasted bread, English muffins, or bagels (classic and always a hit)
- Swirl into yogurt or oatmeal for a quick breakfast upgrade
- Fill thumbprint cookies or pastries
- Serve alongside peanut butter on toast for sweet-salty magic
- Top pancakes or waffles for a cozy brunch moment
Storage and Reheating
- Refrigerate: Store in an airtight jar in the fridge for up to 7–10 days.
- Freeze: Freeze in small containers for up to 3 months. Thaw in the fridge overnight.
- Reheating: You generally don’t need to reheat jam. If it thickens in the fridge, let it sit at room temperature for 10–15 minutes, or warm gently in short bursts in the microwave.
FAQs
How do I know when my strawberry jam is done?
Use the cold plate test: spoon jam onto a chilled plate, wait 1–2 minutes, and look for a wrinkled surface when you run your finger through it.
Can I use frozen strawberries?
Yes. Thaw slightly so the mixture cooks more evenly, and expect a little longer simmer time depending on how wet they are.
Why is my jam not thickening?
Most often it needs more simmer time to reduce. Also check that you measured lemon juice and sugar correctly.
Is it safe to can strawberry jam?
For safe home canning, follow a tested canning method and recipe for your equipment. This post focuses on fridge/freeze storage for simplicity.
Can I make it without sugar?
You can reduce sugar, but completely sugar-free versions may not set the same way. Consider a jam setting alternative (like pectin/low-sugar products) for best results.
Easy Strawberry Jam Recipe with Fresh or Frozen Berries
Ingredients
Method
- Prep your strawberries. Hull and chop the strawberries into small pieces so they break down evenly.
- Combine in a saucepan. Add strawberries, sugar, lemon juice, and lemon zest to a medium saucepan. Stir to coat the fruit.
- Cook until thick. Bring to a gentle boil over medium heat, then reduce to a steady simmer. Cook, stirring often, until the mixture becomes glossy and noticeably thicker, about 20–30 minutes depending on your strawberries.
- Check the set. To test, place a small spoonful on a cold plate. After 1–2 minutes, run your finger through it—if it wrinkles and holds shape, it’s ready.
- (Optional) Thicken with chia. If using chia seeds, stir them in during the last 3–5 minutes of cooking. Cook briefly to distribute and thicken.
- Cool and store. Let the jam cool to room temperature. It will continue to thicken as it cools.
- Jar it up. Spoon into clean jars. Refrigerate and use within a week or freeze for longer storage.
